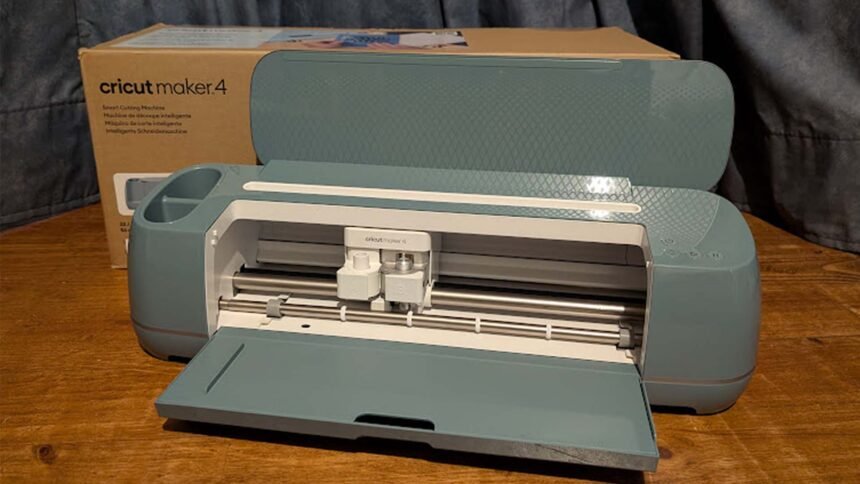
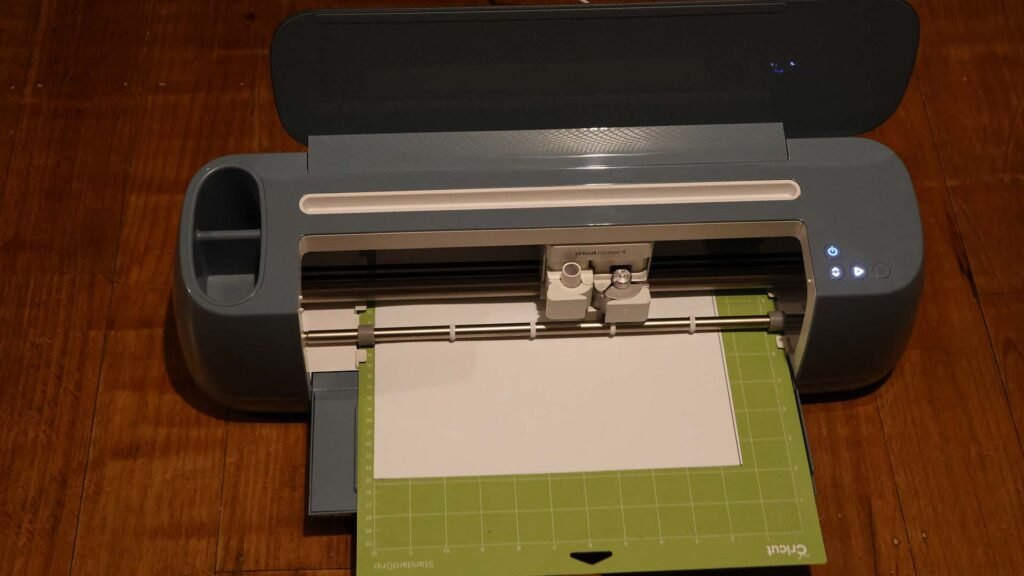
The Maker 4 is the newest addition to the suite of crafting machines offered by Cricut and comes in two colours – Seashell and Sage. The machine itself is pretty large – 56cm x 18cm x 15cm (22 x 7 x 6 inches), and when in use requires at least 30cm of free space in front and behind, so you are probably going to need a dedicated space for it. It can handle a maximum project size of 29.2cm x 59.6cm on a cutting mat, but using the Smart Materials range of products, the maximum cut size is 29.2cm x 3.6 m. It features 13 different compatible tools, including an engraving tip, rotary blade, and knife blade, and boasts 10 times the cutting force of the Explore series of Cricut machines.
GENERATIONAL IMPROVEMENTS
Cricut has used consumer feedback to make improvements in the creation of the Maker 4, including more software updates available on a consistent basis, using machine learning to improve searches, and better tags on pictures to make searches easier and more accurate. Templates for t-shirt projects are another new feature, enabling you to design your creation on top of a size guide, you can also upload SVG files and Design Space will create layers from it automatically. You can also now add instructions to your own projects.
In addition to the software improvements, there are also hardware upgrades – the Maker 4 is able to cut 2x faster than previous models and with more cutting pressure, allowing it to cut through thicker materials, including leather and wood.
- Maker 3 – cuts at 3.8 inches per second matless and 5 inches per second with a mat.
- Maker 4 – cuts at 10 inches per second matless, and 10 inches per second with a mat.
A new feature in Design Space is SnapMat. This allows you to use your scrap pieces of material – take a photo of them placed on a mat and design space will allow you to align your project with the material. This is a fantastic feature for reducing wastage; however, it’s currently only available on iOS.
Cricut are making changes to their packaging to make it more sustainable and eco-friendly and they are also now including some materials in the box with the Maker 4, allowing you to make up to 10 projects just with what comes in the box.
UNBOXING AND SETUP
The materials provided are: three 33 x 18cm samples of Smart Vinyl, two cardstock 30 x 10cm samples, one Smart Iron-On 33 x 18cm sample and two 30 x 15cm sheets of Transfer Tape. Also included is a LightGrip Machine Mat, a 0.4 fine point pen in black and a mini weeder tool.
Getting started with the Maker 4 is ridiculously easy. Power up, calibrate, and go!
I had a few hiccoughs with my connection to the Maker 4 to start with, but it was because I didn’t remove a previous maker machine from my ‘remembered’ wifi connected devices.
PSA – If you are upgrading from another Cricut machine, make sure you go into your Bluetooth settings and forget the old machine before you connect the new one – Once I removed all the old connections it was smooth sailing!
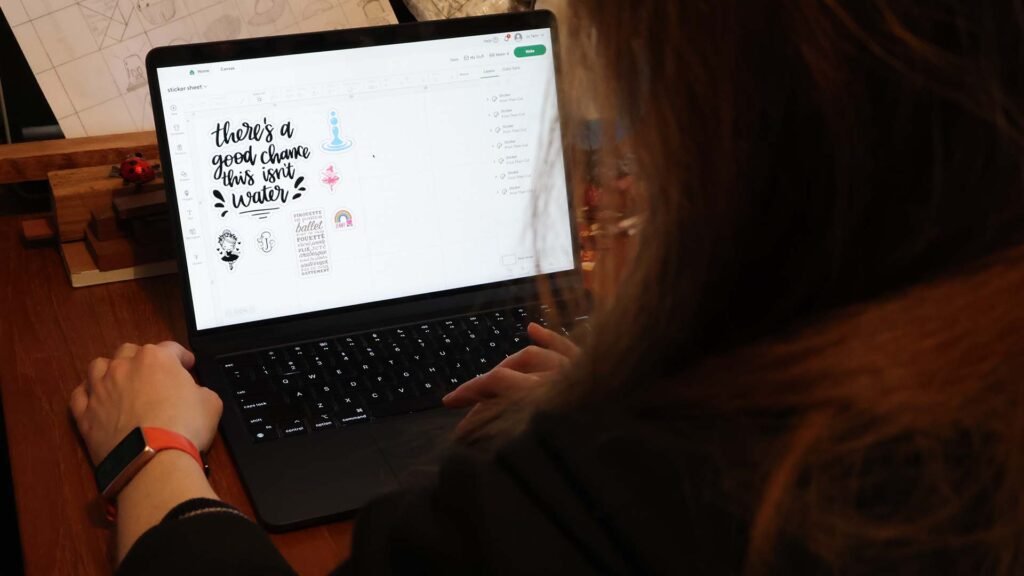
Last time I used Design Space it was via the mobile app. This time I borrowed my hubby’s Mac, and even with having to learn Mac commands, the desktop version of Design Space is so much easier to use.
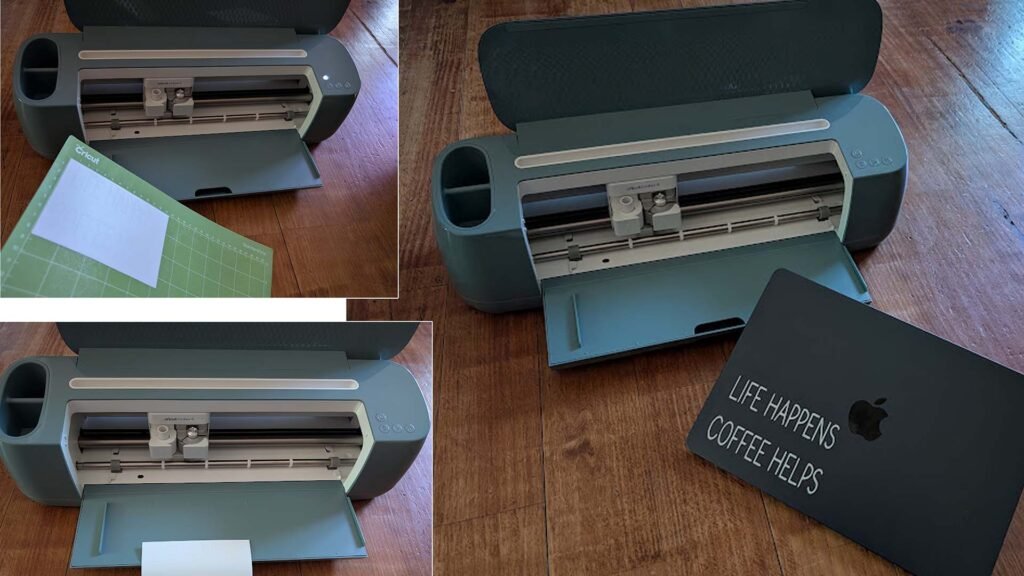
I started out with a straightforward vinyl text project to see just how much faster the Maker 4 was at cutting. For a simple vinyl cut it took 20 seconds from the button press to start the cut to the machine actually cutting. A simple letter design was completed in 40 seconds total. Even given the fact that I have a few vinyl projects under my belt now, it was a super fast and seamless experience. Using Design Space was easy, cutting was fast, and the vinyl transfer went perfectly.
I then moved on to something I had no experience in – stickers! I was a bit apprehensive to start with, as it is a multi-step, multi-machine process, but the material itself was super helpful! The sticker sheet material has a QR code on it, and the code takes you directly to step-by-step instructions on the Cricut website on how to create the waterproof stickers.
The process to make the stickers is a multi-step process, but it is straightforward, and the Cricut website is clear and informative.
Once I had the stickers I wanted on my canvas, I spent a fair bit of time adjusting and resizing them – bouncing back and forth between the canvas and the Design Space equivalent of print preview, in order to get as many stickers as I could onto one sheet.
Once that was done, I figured out which way my inkjet printer pulled pages in, so I could make sure the sticker sheet went in the correct way up and hit print in Design Space. Once the sheet was printed, the next step was to apply the waterproof layer
A very good tip from the Cricut website was to stick the printed sheet to the light grip mat (the blue one) before applying the waterproof vinyl layer. Once the clear waterproof layer is on, there is no taking it off – it goes cloudy if you peel it up, and you can’t stick it back down, so it’s very important to line it up properly with the printed sheet.
I tried a few different techniques, the one which worked best for me was to peel off the small strip at the top, then line up the bottom edge with the paper. Press down and adhere the top strip to the printed layer, then fold the waterproof layer back over itself. This lifted the edge of the backing, then I slowly used one hand to press the adhesive side down, while the other hand peeled away the backing. I did experiment with using the burnishing tool to press down the adhesive layer but I ended up with visible lines on the finished sheet – doing it just with my hands produced a smoother result.
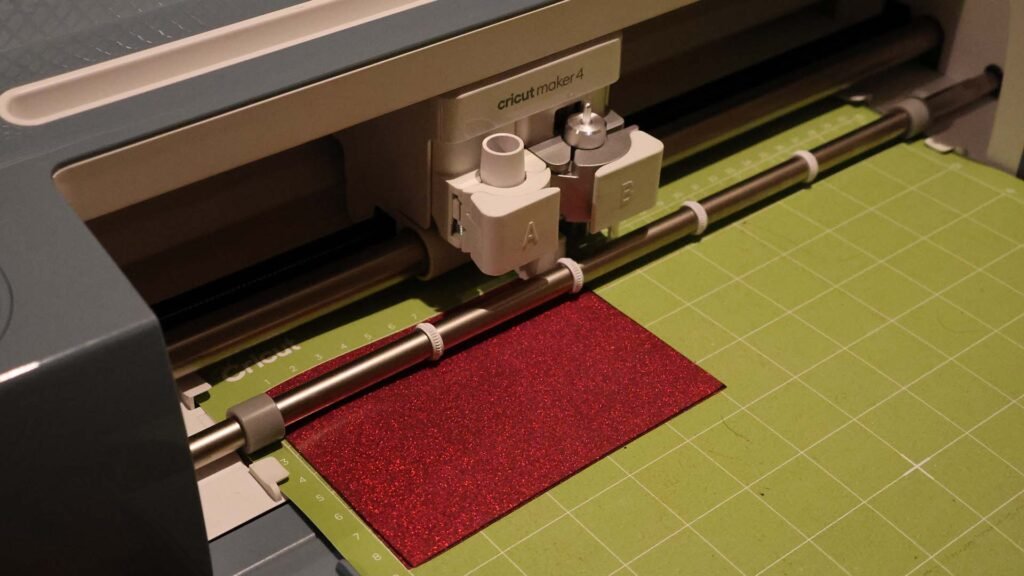
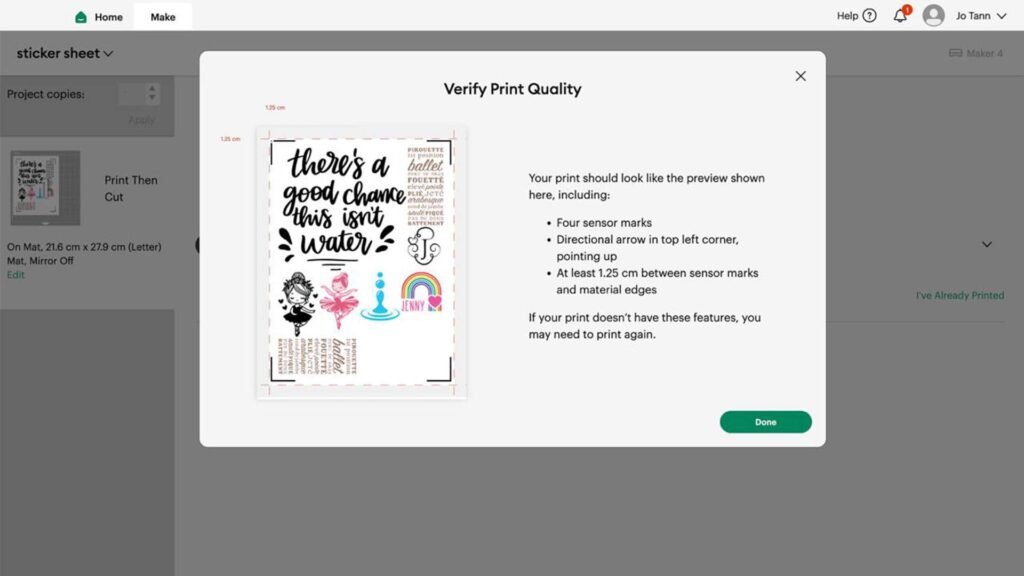
Once the waterproof layer was firmly adhered, the mat went into the Maker 4 to cut out the stickers. The Maker 4 aligned itself using the 4 sensor marks in each corner and the directional arrow, then the Maker 4 very swiftly cut out all the stickers.
THE PROJECT
The part of the sticker sheets which Design Space uses is smaller than the actual sheet in order to align the designs for cutting, so there is a bit of unavoidable wastage. In theory you could put the sticker paper back into your printer and use a different program to print extra designs outside the cuttable area, run it through the Maker 4 to cut out your Design Space designs, and then hand cut out any stickers outside the margins, but this seems like a lot of effort to go to just to use all of an A4 sheet of material.
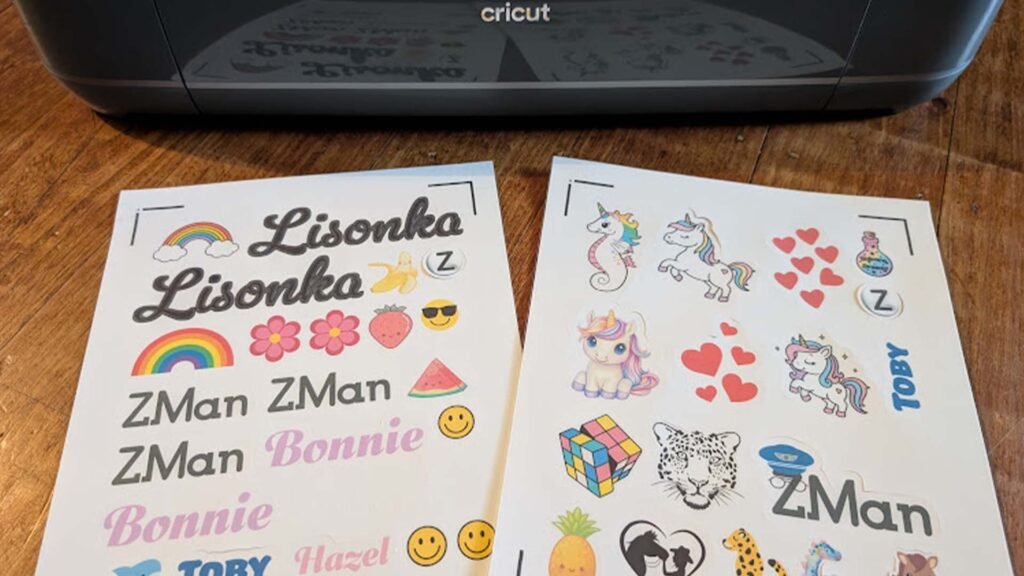
Important to note that you cannot use transfer tape with the waterproof sticker sheets – so if you choose not to go with the classic outline cut around a picture, and go instead with cutting tightly around each shape or letter, you are going to have to manually place all the separate parts of the sticker onto your chosen surface. The trick for lettering I found was to select a cursive style font that has connected letters, meaning there were far fewer pieces to have to try and align.
If you are cutting out just the lettering or picture, then be sure to select the bleed option; it will print the edges of your picture or lettering wider than they should be, so that when the Cricut cuts the sticker out, you get colour to the edge of the sticker with no white edges. If you do want the classic edge around your stickers, you need to make sure that the option for a border is turned on.
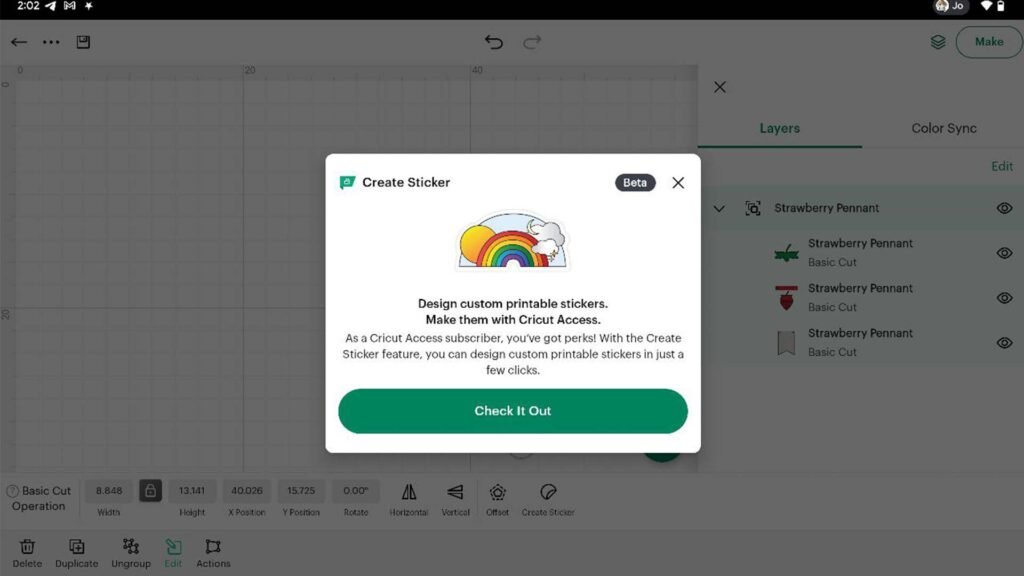
There is also an option to either die cut or kiss cut your stickers. Die cut will cut all the way through the sticker sheet, kiss cut will just cut the sticker layer but leave the backing intact. A point to note however is that creating custom printable stickers is currently only available for Cricut access subscribers.
PRICING AND AVAILABILITY
The Maker 4 is retailing from $648 and the Explore 4 from $448 in most major retailers, including Spotlight and Officeworks.
The Maker 3 series of machines is still available and isn’t being discontinued; they are, in fact, being discounted – now retailing from $498. Adding the Maker 4 to the suite of available Cricut machines creates a broad retail footprint for Cricut, providing consumers with a choice at different price points.