
We’re all trying to escape some of the subscriptions, and we’re all using a lot more data these days. So where does it end? For me, self-hosting a lot of data falls in the realm of a no-brainer because I’m often using it while I’m at home, meaning I’ve got near-instant access across my network.
After a lot of trial and error, a lot of money spent and a remarkable amount learned, I thought it was worth sharing my key learnings from the process that’s taken me years to get to where I’m at.
HOME NETWORK: IT’S NOT ALL ABOUT THE NAS
Let’s start at the core of your network and look at your router. They all do the same thing at a basic level, but when you look at the actual hardware, there’s a big difference.
Starting at the lower end of the scale, if you’re using the router that your Internet provider gave you when you signed up, then you’ve got a serious bottleneck. It’s likely to struggle, due to processing power, to manage multiple simultaneous transfers. Even if you’ve got a high-quality NAS and proper cabling throughout your house or office, a basic router will still be a problem for you.
The obvious answer to this is to upgrade your router, but to which one?

There are dozens, if not hundreds, on the market that could do the job for you. Here are the features you should look for as a starting point.
- At least Wi-Fi 6, preferably Wi-Fi 7: As time progresses, Wi-Fi 7 devices are going to become more common, and you’ll be grateful you spent the money earlier to get the best from your devices.
- In the spirit of futureproofing your network, make sure at least your WAN port, preferably at least one LAN port, also supports 2.5Gbe: It’s not far away, and NBN will be supporting faster connections, which will make some routers currently available redundant to high-end users.
- If you’ve got, or are planning to acquire any smart home devices, a router that allows you to separate 2.4Ghz and 5Ghz bands is a must: The 2.4Ghz band is all some IoT devices support, and this also leaves the faster 5Ghz band for your personal devices.
- Beamforming and MU-MIMO capabilities are another must. The beamforming technology directs the Wi-Fi signal to your connected devices, giving them a stronger signal and better performance. MU-MIMO (Multi-User, Multiple-Input, Multiple-Output) allows the router to handle multiple devices simultaneously, delivering better performance to all connected devices.
- If you need, or think you need to build your coverage out a bit, then invest in a mesh Wi-Fi system. You’ll expand your coverage, improve your speeds and won’t add latency the way Wi-Fi extenders do.
When you branch away from your router, there are a few things to consider. The first thing is what speed and type of connection you have internally. If you (like I did years ago) have a hardwired network through your home, then you’re already in the box seat. There’s another consideration, whether your router or switch is capable of at least 2.5GbE, preferably (but unlikely for most people, given the cost of infrastructure) 10GbE.
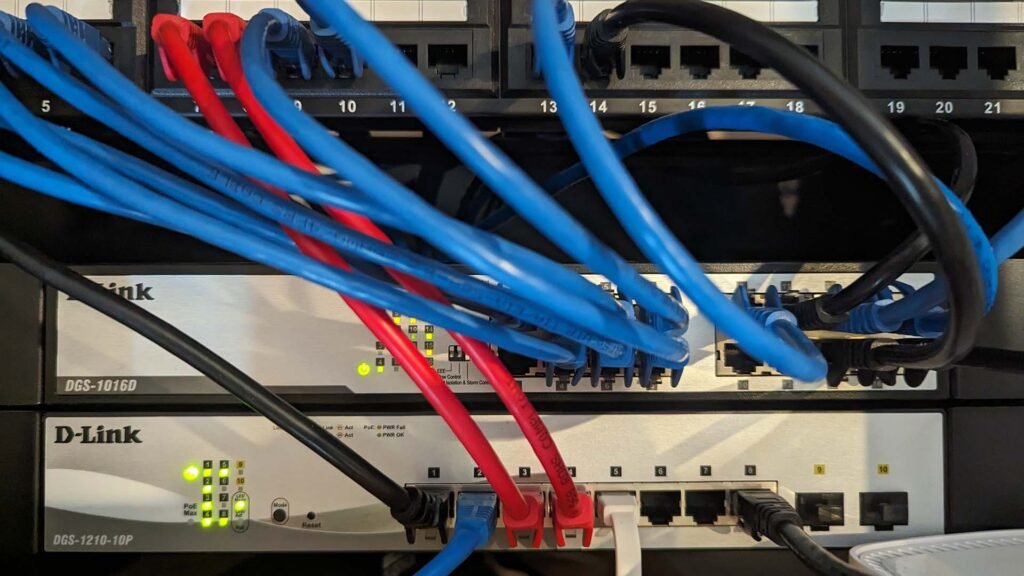
The reason for this is pretty simple: when you’re transferring large blocks of data across your network (particularly video files), you’ll quickly hit the 125MB/s speed limit over a gigabit LAN. So while it’s nice for daily functions, internet surfing and streaming media, gigabit speeds can quickly become a bottleneck to heavy data transfers. This is where a NAS that can support link aggregation is a great idea, connecting two cables to your router, which (once set up) effectively doubles the available bandwidth.
YOU CAN GET MORE FROM A NAS THAN CLOUD STORAGE
This is where your mindset about storage needs some potential adjustment. Yes, the cloud is convenient to use, but at a certain level it starts to get expensive… <em>really</em> expensive! So, implementing a NAS for heavy data users and data hoarders quickly becomes an easy win, but there’s a lot to consider first.
I’d like to start with good backup practices and best practices when it comes to your critical data, which is to have a 3:2:1 backup system. That’s three copies of your data, on two separate media types, and keep one copy of your data offsite. With that in mind, I’ll say this one time only: Implementing RAID on your NAS is not a backup copy; it’s redundancy to keep you online if one drive fails. If your enclosure fails, or you have a power surge, or a house fire (not wishing this on anyone), then you’re still vulnerable to total data loss without a backup plan.
<em>The very basic breakdown here is for a two-drive NAS, you’ll want to run RAID 1, which mirrors your drives. You’ll lose half your drive space (2 x 6TB drives will present as 6TB of space), but if one fails, your NAS is still operational and the data is safe. For a four-drive NAS, I run RAID 10, which is RAID 1 (mirror) + RAID 0 (striping), which pairs drives up and mirrors the pairs (4 x 6TB drives will present as 12TB of space).</em>
Next is the storage capacity consideration, which I found I’m always wrong on. So, whatever data storage needs you think you have, you should double it. While you might only be using 500GB of data on your iCloud account, Dropbox or Google Drive, the convenience and speed of having it onsite, as well as the NAS being a longer-term proposition, means you will fill the drives up steadily over time.
This is particularly true if you’re dealing with video media, full resolution photos or if you, like me, are a tinkerer…
While the basic ones can be just that, basic, in a setup known as JBOD (Just a Bunch Of Disks), the majority of these days have a lot more capability to them. In a lot of cases, they’re mini-servers, or have a dedicated operating system that allows you to install native applications (for network management, surveillance systems, home automation, media servers, messaging, photo backup, and even allowing you to install Docker containers for just about any function you can think of. This could range from a feature like PiHole to block adverts in your network, alternatives for just about any cloud or subscription-based service, and even the potential for virtual machines to be run.
Spend some time doing the research and figuring out what you want your NAS to do before you spend the money. It’s an expensive bit of kit if you miss the mark and suffer buyer’s remorse later.
LOCAL VS REMOTE ACCESS: SETUP CORRECTLY – NO MORE CLOUD SUBSCRIPTIONS
Regardless of whether you’re treating this as local access only or enabling remote access, one thing you need to understand is that it’s not plug and play. There are the physical drives you need to install into the NAS (mostly screwless installation these days), if your NAS supports it; use NVME M.2 drives for caching too, because that will speed up your data transfers. Then, as you progress, you’ll have to set up the RAID, user permissions, shared folders and make the decision between NFS or SMB.
The really simple breakdown here is that NFS is going to be a better option in a Linux or development environment, and SMB for primarily Windows-based, or mixed (Windows and Mac) environments.
Something I have been really happy to have in place for years now is a UPS for my network rack. This keeps my network online when there’s any form of power outage, whether it’s momentary or longer-term. There are a number of reasons for this, primarily to protect the data from unplanned shutdown, which can cause data corruption. This also means that if I’m not home, my data is readily available to me anytime I need it. How much you want to spend on your UPS is up to you. Mine sends a shutdown command to the NAS when there’s 15 minutes of power left; although that’s yet to be tested, as I also have a solar battery on the house – the UPS essentially covers that moment between blackout and the battery picking up the power load of the house.
If you’re trying to get access to the NAS remotely, you’ll need to decide: Cloud Connected or VPN. Each has its own pros and cons, but if the data on your NAS is critical or stores any high-level private data, adding the barrier of a VPN to accessing it is worth the time and effort.
Rather than having your data exposed to the outside world, where anyone who knows can guess or brute force attack on your password, it isn’t an ideal situation. So, having strong and unique passwords for your VPN and your NAS is an ideal situation to provide further protection for your data, avoiding preventable security vulnerabilities. Once that is in place, your NAS then becomes very close to a direct replacement for cloud storage providers.
DIY OR PRE-BUILT NAS?
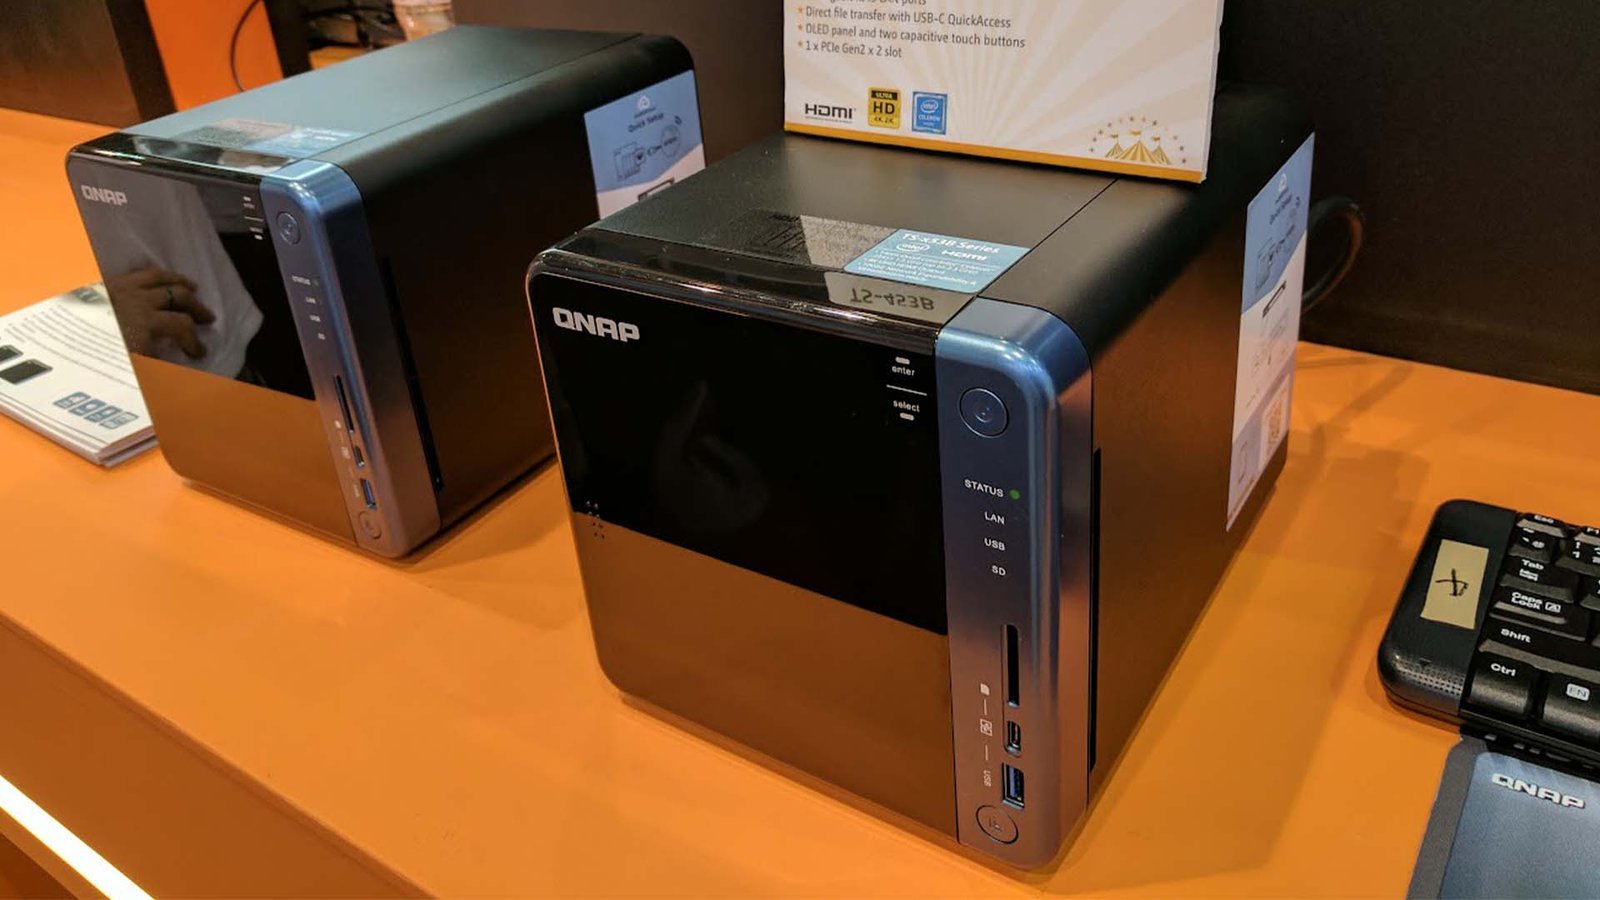
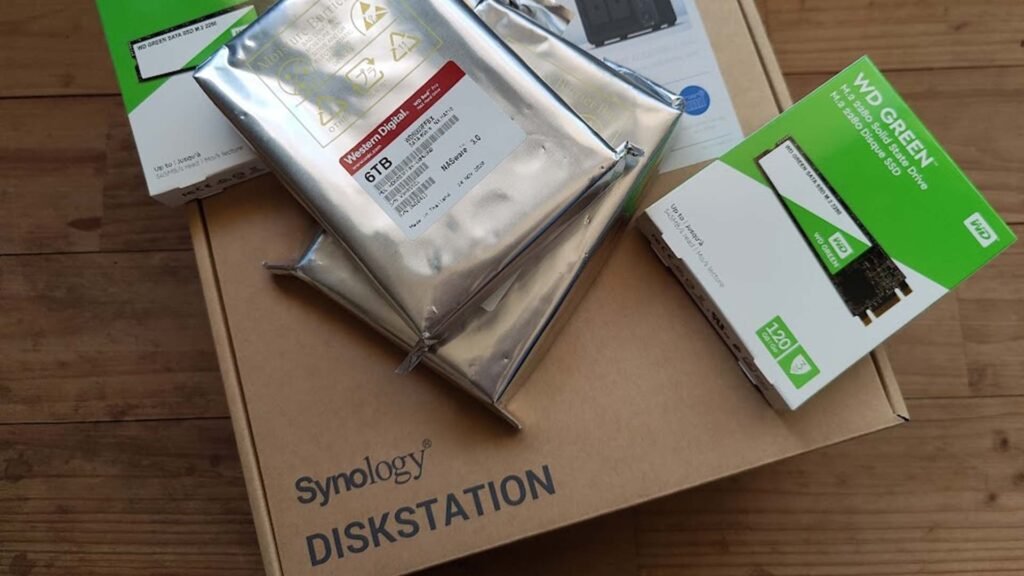
Choosing a Pre-Built NAS from companies like Synology, Ubiquiti, Ugreen or QNAP — with plenty of others on the market — offers the path of least resistance. These units are designed for ease of use, coming with drive bays, a motherboard, and proprietary operating systems already configured. For the average user who just wants a reliable, out-of-the-box solution with a polished graphical interface, a pre-built system is ideal. You benefit from professional customer support, regular firmware updates that handle security patches, and a guarantee that all components work together seamlessly. However, this convenience comes at a premium. You are locked into the vendor’s ecosystem, and upgrading components like the CPU or RAM is often impossible or highly restricted, limiting the life and power of the unit as your needs and demands evolve over time.

The DIY NAS route, using open-source operating systems like TrueNAS or unRAID, provides maximum flexibility and control, but demands a higher level of technical expertise. Building your own system allows you to hand-pick every component, from the exact motherboard and CPU to the power supply, ensuring your NAS has the precise computational power, connectivity (like multiple 10GbE ports), and physical space you require—often at a lower component cost than a pre-built unit with comparable specs. This path is best for enthusiasts or users with specific, high-performance needs, such as running multiple virtual machines or hosting demanding media servers. The trade-off is that you become your own support staff; setting up RAID arrays, configuring the OS, and troubleshooting hardware or software issues falls entirely on your shoulders, making the initial investment of time significant.
Personally, I’ve been running Synology NAS options for years now. There’s a simplicity to setup, a reliability to the hardware and predictability to the performance (short, medium and long term) that makes it an option that I struggle to go past. Add to this, the options to — through a web interface — install apps like Plex, PiHole, a variety of messaging, photo storage and other apps; it does everything I need and want it to.
THE JOURNEY TO YOUR PERFECT NAS
The journey to building or buying your ideal Network Attached Storage isn’t just about picking a box and some drives; it’s a careful process of digital due diligence. Before you commit to the hardware — be it a sleek pre-built unit or a robust DIY enclosure — you must first solidify the often-overlooked foundation: your home network infrastructure.
Remember, your NAS will only ever be as fast and reliable as the weakest link in your system. That means first addressing the need for a modern router capable of handling Wi-Fi 6/7 or, at a minimum, a stable Mesh Wi-Fi system to ensure seamless connectivity across your entire home. More critically, you must secure the internal wired links by ensuring you have, or can practically run, Gigabit Ethernet (or 10GbE) from your router to the final NAS location.
Once the infrastructure is ready, the next critical step is defining the role your device will play. Whether it’s the simplicity of a basic J.B.O.D. setup or the critical redundancy provided by RAID 1 or RAID 5, your final decision must hinge on your tolerance for data loss and your capacity needs. Only after settling these core decisions—Network Speed, Redundancy Strategy, and Storage Capacity—will you be ready to commit to the actual hardware purchase and finally enjoy the flexibility, control, and future-proof storage that a personal NAS provides.